A cabinet plan works best when it starts with what you reach for, not with a row of matching doors. A beautiful kitchen can still be frustrating if the everyday plates are behind a deep shelf, the chopping board has no home, or a drawer collides with the dishwasher. This guide focuses on kitchen cabinet storage: assigning useful locations to cookware, food and cleaning supplies before choosing organizers or committing to a finish.
Make an inventory before drawing cabinet fronts
Open the cabinets you use now and write down what is inside them. Separate things you use daily from those you use weekly or rarely. Note bulky pans, tall bottles, heavy appliances, spices, waste bins and any items that need to dry after washing. Include the person who usually cooks and anyone else who shares the space; their habits may differ.
Do a quick edit before measuring. Keeping three seldom-used appliances at the front of the plan makes the kitchen work around the wrong priorities. Put daily items on a short list and measure the awkward ones. A physical pot, serving platter or water container tells you more about required clear space than a generic cabinet drawing. Check usable interior width and height, not just the outside dimensions of the unit; hinges, runners and plumbing occupy space.
Assign storage by task, then by reach
Think through a normal meal: unpack groceries, wash produce, prepare ingredients, cook, plate and clean up. Put the items for each step near the place where that step happens. Dry food might belong near the preparation counter; pans and utensils near the hob; everyday dishes near the area where you plate food. Cleaning cloths and bin liners are useful near the sink, provided they remain separate from food.
This is a guide to decisions, not a fixed rule about where every kitchen must put its plates. In a compact kitchen, the same stretch of worktop may serve several tasks. In an open-plan room, you may want the most frequently used items accessible without crossing the route between kitchen and dining area. Sketch those routes on a plan and mark each storage group beside its point of use.
Keep heavy and frequent items easy to reach
Store heavy pots and plates where they can be lifted without stretching overhead. Give everyday utensils a drawer that opens fully without striking another handle. Reserve high cupboards for lighter or rarely used things; if reaching them requires a stool, do not treat them as daily storage. Think about accessibility for everyone who uses the kitchen rather than designing around one person's standing height.
Choose drawers, shelves and pull-outs for what goes inside
Drawers make items at the back easier to see than a fixed deep shelf. Shallow drawers can hold cutlery and small tools; deeper drawers can hold pots, provided the runners and base are specified for the intended load. Simple dividers stop small objects spreading across a wide drawer. Before ordering, test the clearance for a pan handle, stacked bowls or an upright bottle with the drawer shut.
Hinged doors with adjustable shelves can still be the right choice for tall or irregular items and for spaces where an extra drawer mechanism would add little value. If you choose an internal pull-out behind a hinged door, check the order in which both parts open and allow room for the door and handle. A pull-out is not automatically more useful: its frame takes up some interior space and its moving parts need maintenance.
Treat corners as a compromise, not a magic storage gain
A blind corner can hold items you seldom need, but reaching them may be awkward. A rotating or swing-out fitting can improve access while consuming part of the available volume. Compare a corner mechanism with a simpler layout using ordinary drawers on the adjacent run. Ask to see how far a proposed fitting travels and whether it can be removed for cleaning. The right answer depends on the items you actually plan to store there.
Plan the sink cabinet as its own small system
The space under a sink is interrupted by pipes, traps and sometimes a water filter. Measure those components on site and keep shut-off valves accessible. A removable tray can make spills easier to notice; a sealed, cleanable surface around the plumbing helps with routine upkeep. Do not assume that a full-depth drawer will fit simply because the cabinet is wide.
If a waste station goes here, check how you will remove the bins while someone stands at the sink. Separate wet waste from stored food and allow space to clean the cabinet. In warm, humid conditions, prompt disposal and easy-to-wipe surfaces are more useful than hiding a bin behind a complicated mechanism. Any leak should be repaired at its source rather than covered with another lining.
Choose a finish you can live with and maintain
Cabinet doors are touched repeatedly, so evaluate sample finishes in the light of your actual kitchen. A pale surface can show cooking splashes; a very dark or glossy surface may show fingerprints. Textured finishes can soften marks but need a cleaning method suited to the material. There is no universally low-maintenance color or coating.
Ask what the door front, cabinet box, exposed edges and hardware are made from; the word “wood” alone does not describe a complete cabinet. Look closely at edge sealing near sinks and wet work areas, and at how the finish meets handles and corners. Request care instructions for the exact finish you select. Ventilation and prompt cleanup matter alongside material choice, particularly in a kitchen that is open to humid air.
Check the plan at full scale before ordering
Mark the proposed counter run and appliance locations on the floor, or tape cabinet door swings onto a simple plan. Open each hypothetical drawer and appliance door in sequence. Can someone pass while the refrigerator is open? Can a corner drawer extend when the adjacent door is open? Is there room to lift a pot onto a useful counter surface rather than across the sink?
Ask the supplier or designer for an elevation and an itemized storage plan, not only a mood board. Label drawers by contents. Verify the final dimensions after walls, floor finishes and appliance models are confirmed. Ask where electrical outlets, ventilation and plumbing access remain. A handsome cabinet elevation is not a substitute for this practical review.
A five-minute storage brief to take to a designer
- List the people who cook and the dishes prepared most often.
- Photograph existing storage and measure bulky cookware and appliances.
- Identify what must be within easy reach and what can go up high.
- Mark the sink, hob, refrigerator, windows and door swings on a measured plan.
- Describe cleaning habits and any persistent moisture or ventilation issues.
- Ask for a drawer-by-drawer proposal, opening-clearance check and finish samples.
If you are still deciding between a made-to-measure system and standard units, read our separate comparison of custom and modular kitchen cabinets. It addresses the system choice; this checklist helps you decide what the chosen system needs to hold.
For other storage and furniture ideas beyond the kitchen, browse the ZEF LIVING furniture collection. It includes seating, tables and storage pieces; it is not a catalogue of the kitchen cabinets described here. Start with the way you use the room, then take the measured brief to the right specialist for your space.
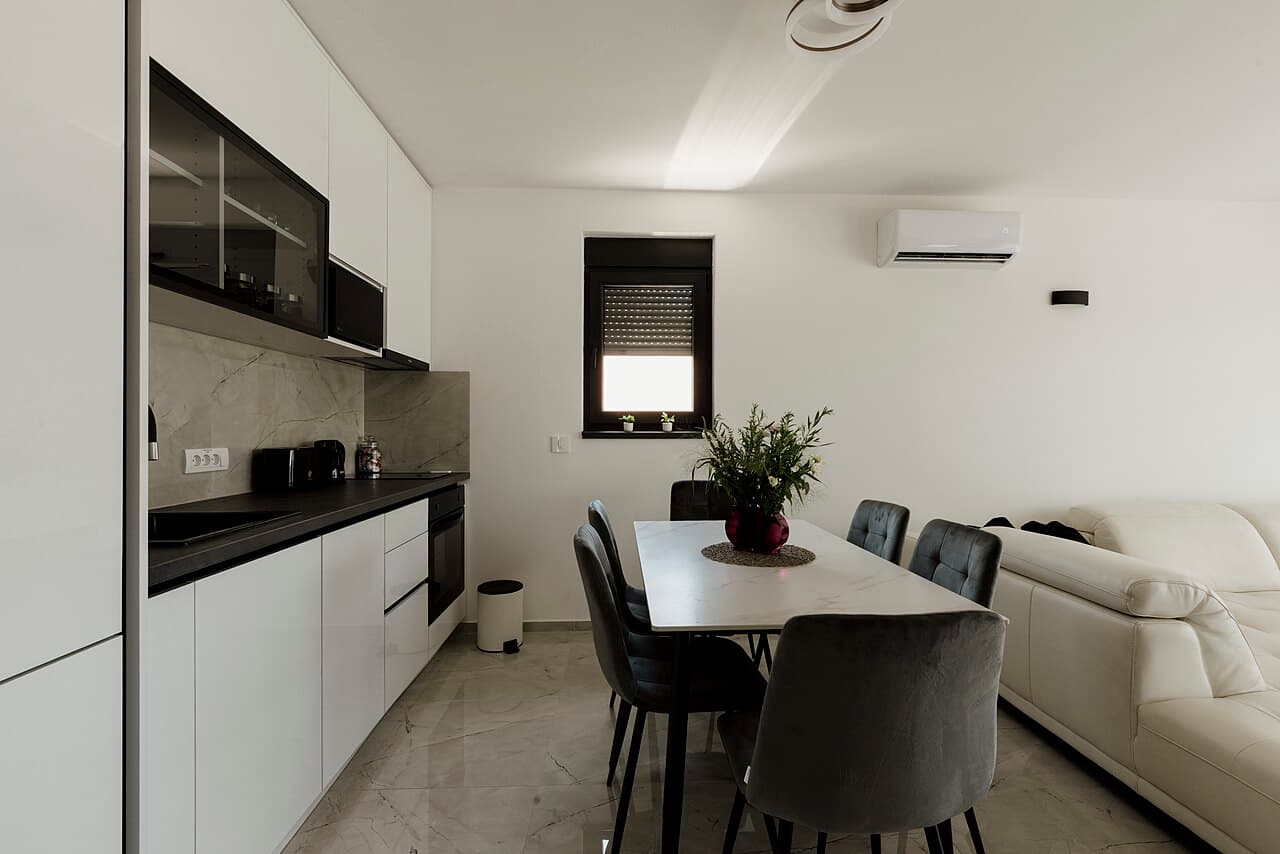
Cover photograph: Shixart1985 / Wikimedia Commons, CC BY 2.0. Cropped/resized for display; image depicts a generic kitchen, not a ZEF LIVING project.