A home that looks comfortable in person may still photograph as crowded, dark or unfinished. Before a Bali property goes live in a listing, walk through it as a buyer or renter would: first as a sequence of photographs, then as a physical route from the entrance to the bedrooms and outdoor areas. This checklist is a practical pre-listing inspection, not a promise that staging will change a sale price or shorten the time on the market.
Start with the listing plan, not the decorations
Write down which rooms will be photographed, which spaces can actually be used by a guest or owner, and what the listing will say about them. Do not stage a storage room as a bedroom if its condition or permitted use does not support that description. Decide who will photograph the property, who can approve repairs, and when the home must be ready. If the home is occupied, arrange where personal items can be stored before you start moving furniture.
If you need a broader explanation of what staging is and how it differs from everyday styling, read ZEF LIVING’s guide to home staging in Bali. The steps below focus specifically on the final inspection before photographs and viewings.
1. Walk the property with a camera
Stand at the entrance to each room and take a wide photograph at normal eye level. Repeat from the doorway that connects it to the next space. Look at the photographs before changing anything. A chair blocking a door, a visible extension cable or a crowded countertop can stand out more in a photo than it does during a walk-through. Make a short list of corrections by room, then take the same photographs again after making them.
Keep the lens and exposure settings consistent when comparing before and after images. Wide-angle photography can make circulation look more generous than it is; the final listing should accurately represent the space rather than hide a constraint.
2. Fix what styling cannot disguise
Check for dripping taps, loose handles, doors that scrape, stains, chipped paint, cracked grout and malfunctioning lights. Test every switch and fan that a visitor may use. Examine walls, ceilings and cabinet interiors for damp patches or a musty smell. In a humid climate, covering a moisture problem with a rug or fragrance is not a solution: investigate its source and address it before photography or visits.
Walk outside after rain if practical. Look at paths, drains and thresholds for standing water or slippery surfaces. Keep a written list of any issue that requires an electrician, plumber or other qualified tradesperson rather than treating it as a styling task. Where a room needs work beyond a minor repair, ZEF LIVING’s renovation service is a relevant starting point for discussing the scope.
3. Edit each room without emptying it
Remove personal photographs, spare appliances, loose papers, excess cushions and items stored on the floor. Leave enough furniture to communicate a clear use for each room. For the living area, test whether a visitor can move between the seating, doors and outdoor connection without sidestepping a table. In a bedroom, make the bed neatly, clear bedside surfaces and leave the wardrobe approachable. In a kitchen, clear most worktop clutter while leaving the practical layout visible.
Do not move furniture just to make one photograph work if it makes the room awkward for a viewing. A smaller, honest arrangement is more useful than a crowded one. If you are reconsidering furniture placement rather than simply tidying, this living room layout guide offers a way to test circulation and seating positions.
4. Check light, ventilation and surfaces at the shoot time
Visit each room at roughly the time planned for photography. Open blinds and doors where safe, then check whether bright windows make the interior appear too dark. Turn on the lights intended for the shoot and replace mismatched or dead bulbs. Clean mirrors, glass, fittings and reflective surfaces; fingerprints and streaks are often conspicuous in close-ups.
Ventilate rooms before visitors arrive, then check whether doors and windows can be operated normally. A scented candle cannot solve poor airflow. If the property relies on air conditioning, test that it works and allow the room to reach a comfortable temperature before a viewing. Be mindful of direct sun on artwork and upholstery when choosing what to leave near a window.
5. Make the inside-to-outside route legible
For a property with a terrace, courtyard or pool, photograph the transition rather than treating the outdoor area as a separate attraction. Clear the path between doors and seating. Sweep the threshold, tidy outdoor cushions, check the condition of railings and remove garden equipment from the frame. Prune only as appropriate for the plants; do not block access or mask a maintenance problem with greenery.
Make sure a visitor can see which doors actually open and how the outdoor space is reached. If the property has no significant outdoor area, do not force an indoor-outdoor story into the listing. Show its best real features instead.
6. Inspect the small rooms buyers still notice
Bathrooms
Clean grout, mirrors, taps and drains; check for odors and slow drainage. Put away cleaning supplies and personal products. Provide a clear view of the shower and storage rather than filling every shelf with towels. Do not photograph around a leak that remains unresolved.
Kitchen and utility areas
Close cabinet doors, check that handles and drawers work, and move dish racks or bins out of prominent sightlines without concealing what the home includes. Clear the sink and wipe the cooktop. If appliances are included in the listing, show the actual installed appliances rather than swapping in props for a photo.
Bedrooms and storage
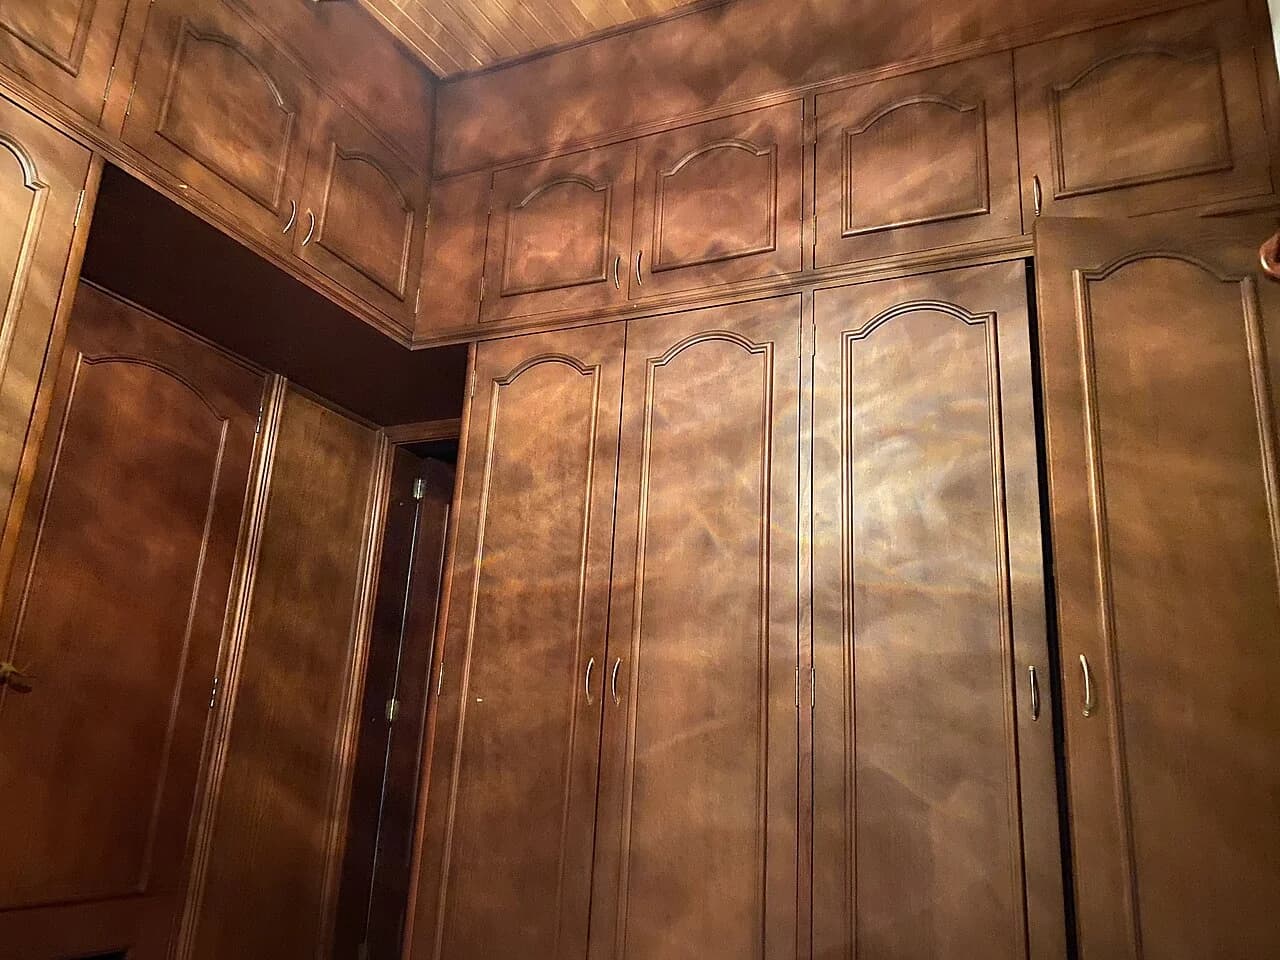
Remove trailing cords, free the bedside route and check that curtains move smoothly. Open a wardrobe to inspect its condition even if it will remain shut for the photograph. A tidy bed will not compensate for mildew in storage.
7. Do a final photo-and-viewing rehearsal
Walk the route a visitor will take, from parking or street entrance through the main rooms. Take a final set of photos and compare them with the room list. Are the rooms shown in an intelligible order? Are there belongings or repairs still visible? Does every image match what someone will see when they arrive? Ask someone who has not worked on the property to flag confusing spaces or unflattering angles.
Before the first viewing, repeat the quick checks: air, lights, clean bathrooms, unobstructed access and outdoor maintenance. Keep a simple reset list for anyone preparing the property after a guest stay or another viewing. If the work requires more than a one-day tidy-up, separate repairs from styling and agree on who owns each task before announcing a photography date.
When to seek help
Owners can handle many of these checks themselves. Professional input is more useful when the rooms have no obvious layout, furniture must be sourced, or several repairs and styling decisions must be coordinated before a listing. For help assessing a property's presentation, see ZEF LIVING’s home staging service or contact the team with photographs and a list of the spaces you intend to list. State the condition of the property honestly so the next steps can be scoped around the real work.
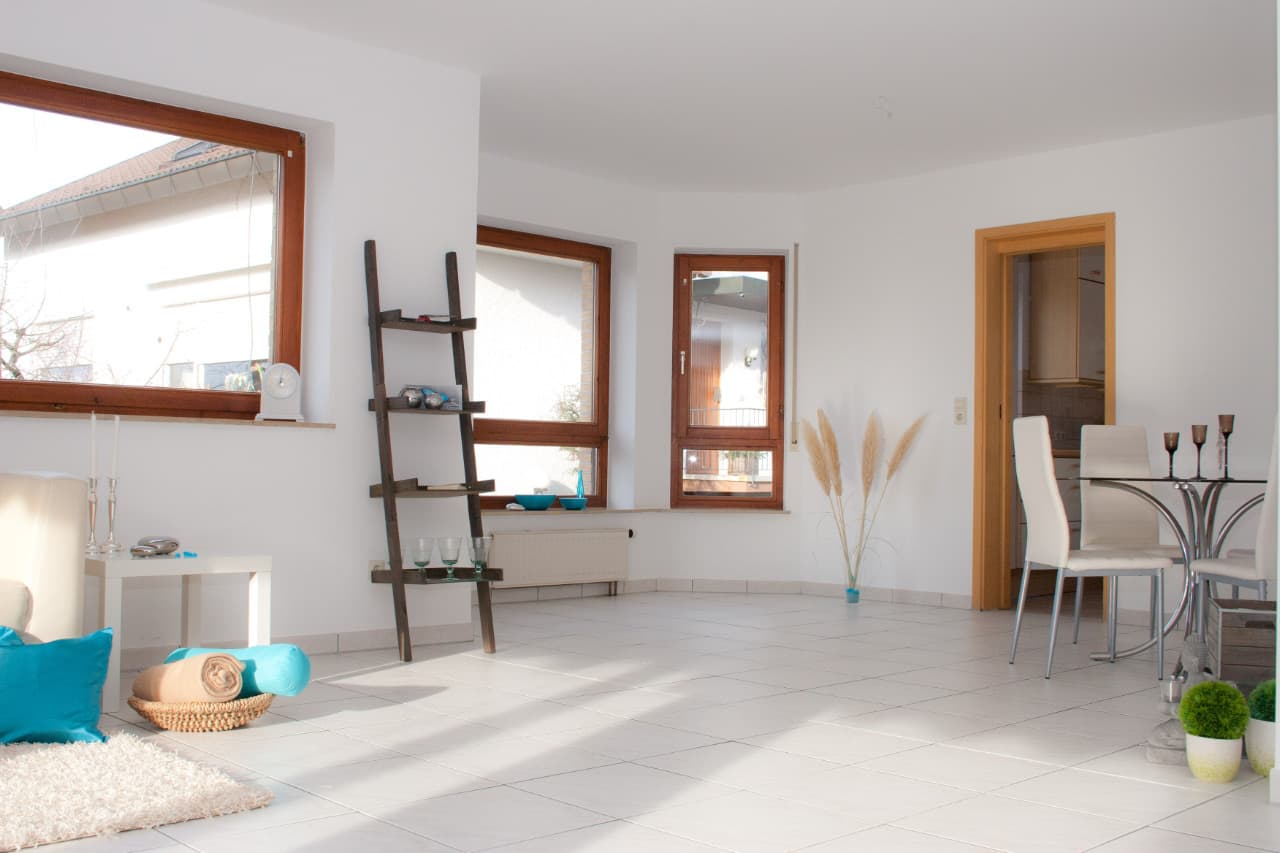
Illustrative home-staging photograph: Die Home Stagerin Senta Hoffmann, Wikimedia Commons source, CC BY-SA 3.0. Original image uploaded without editing; responsive display may crop its framing. The pictured apartment is not a ZEF LIVING project or a property in Bali.